The smoothest, creamiest vegan chocolate ice cream! Coconut milk makes the best vegan ice cream – you don’t need any thickeners and I don’t find that there’s a huge difference between it and custard based ice creams. This is adapted from my toasted coconut ice cream and an idea that’s been in the back of my head for ages, to churn vegan chocolate ganache.
The result is a shockingly easy chocolate coconut milk ice cream, that’s refined sugar free (depends on how you look at that – there is still sugar in the form of date syrup). Whether you have an ice cream maker or not, it’s the best.
Sometimes I see 2/3/4 ingredient recipes and get grouchy because it’s actually using a box of cake mix and a tub of icing or something, but I do think of chocolate as one ingredient. If you would also like to be grouchy, then think of it as a 5-ingredient ice cream instead (cacao solids, cacao butter, sweetener in the chocolate).
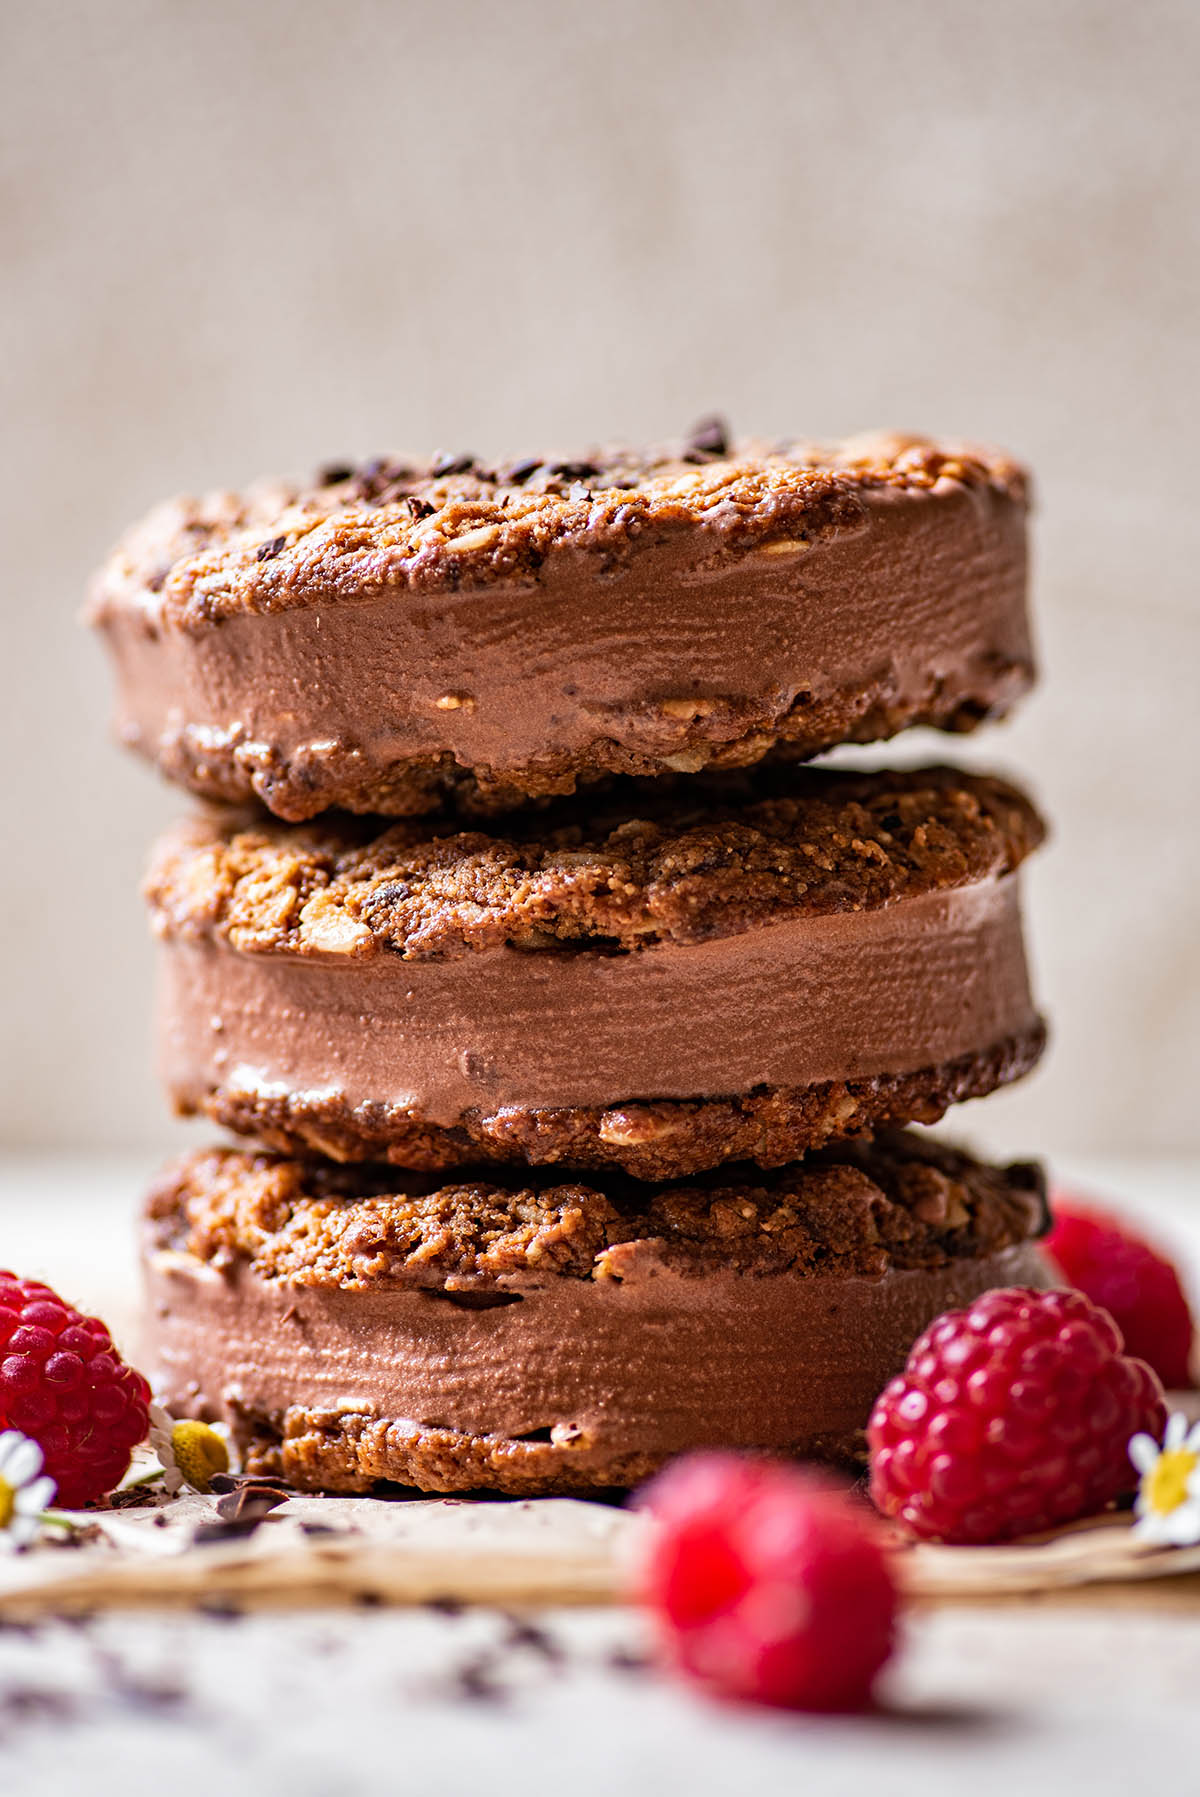
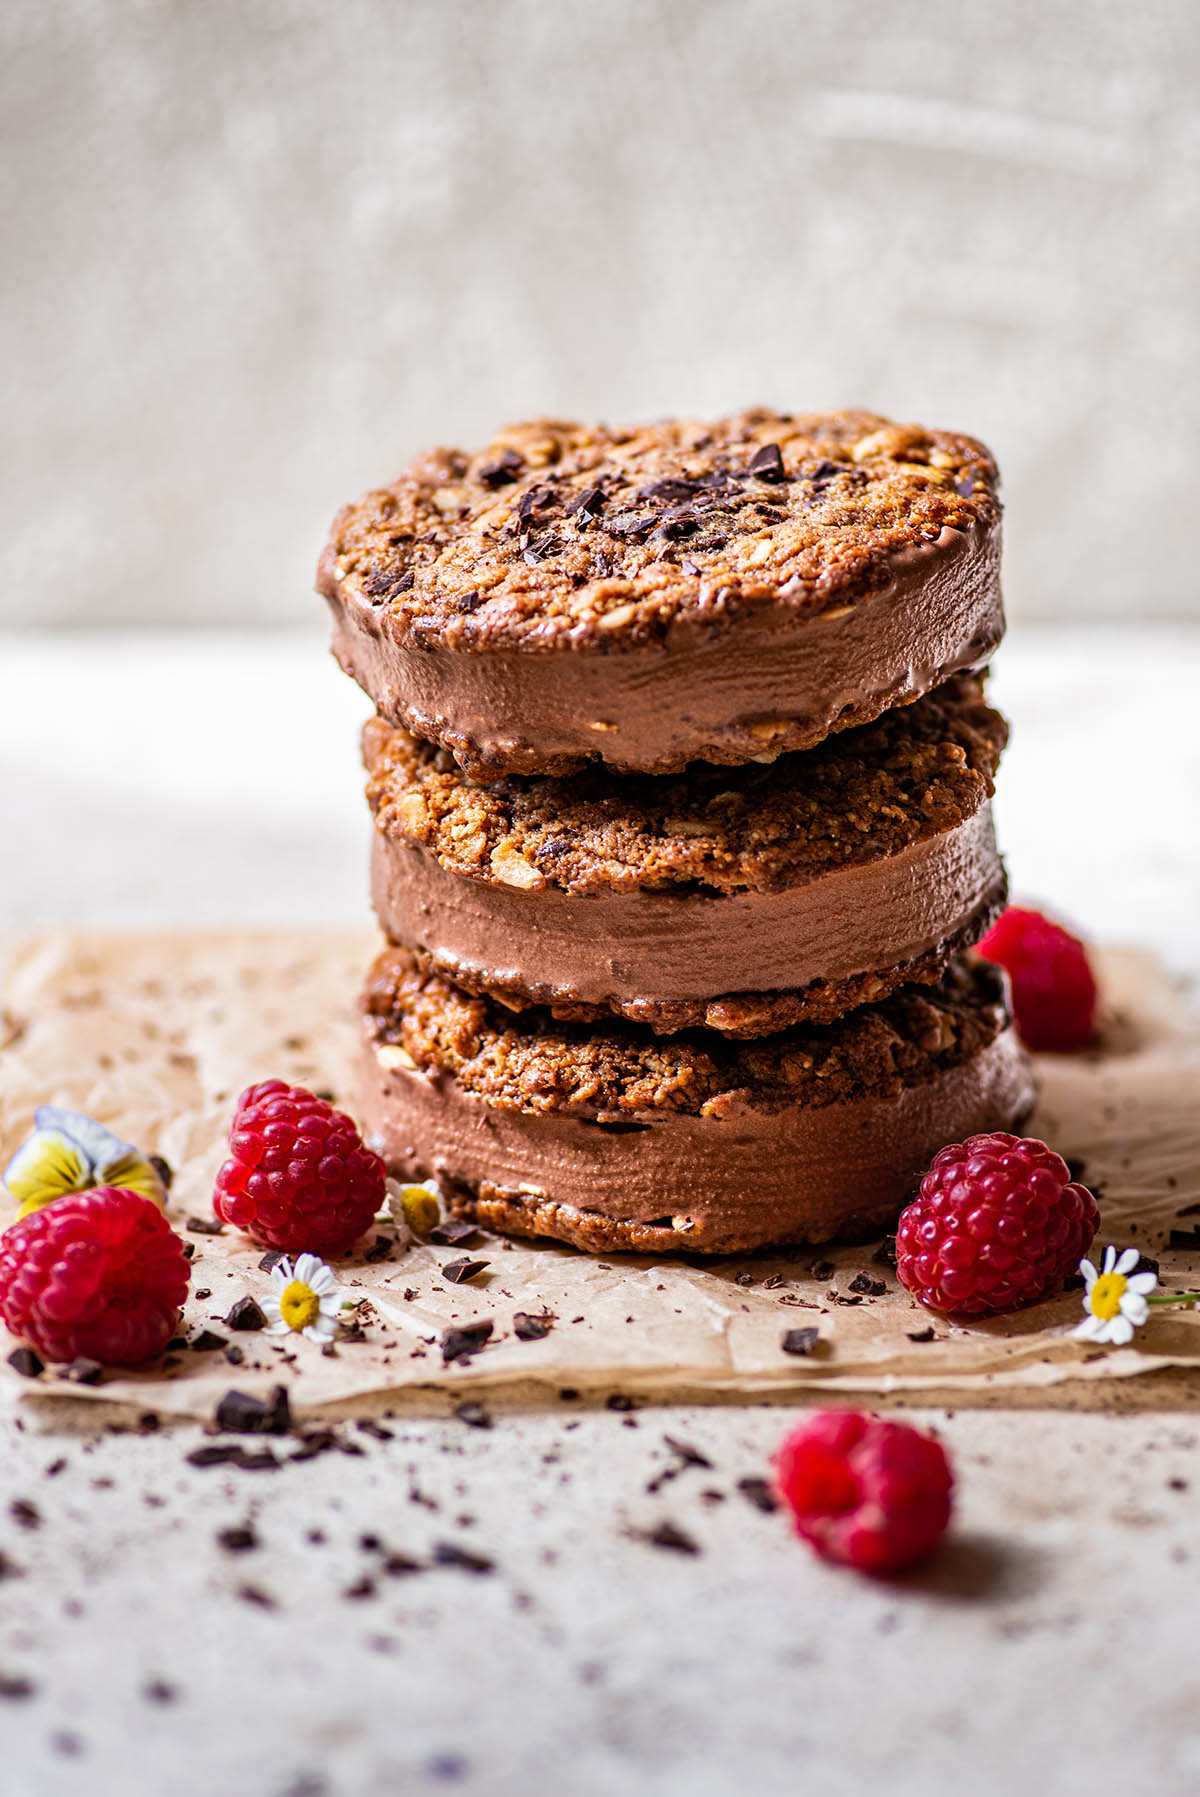
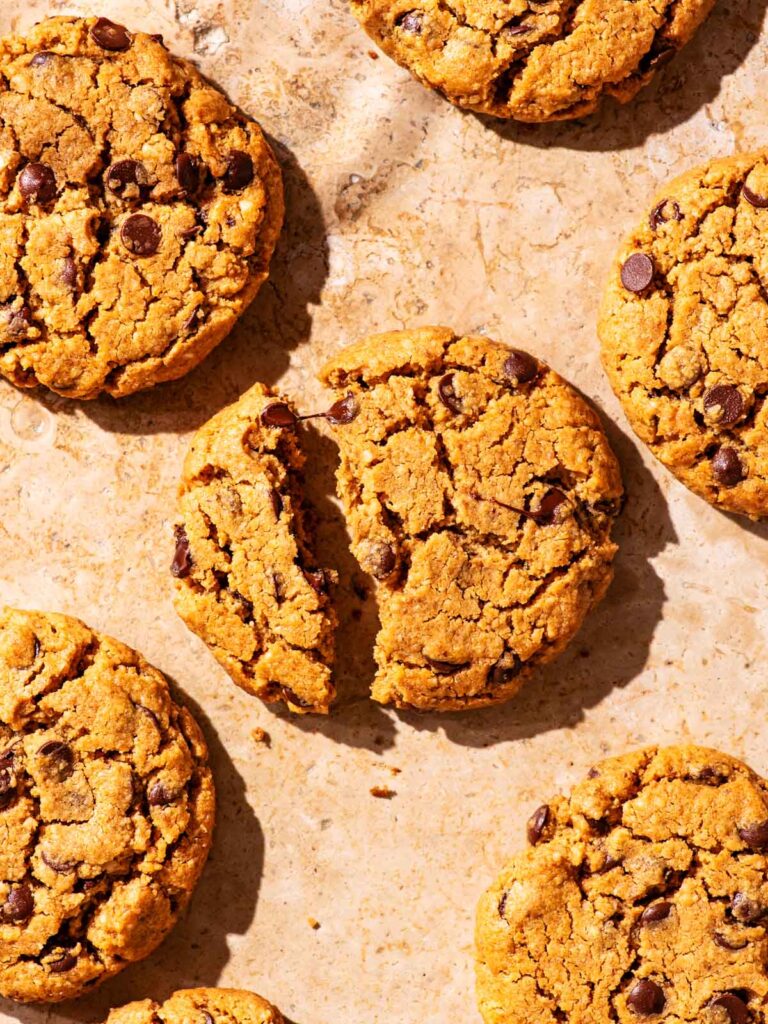
This ice cream is extra good sandwiched between two of my vegan oatmeal cookies! Crisp but not hard when frozen, it’s really the perfect combination. That being said, it makes for a pretty huge ice cream sandwich so you might want to split it with someone. The cookies make ten, and there’s enough ice cream here for ten sandwiches plus a little extra.
Why You Should Try This Recipe
Store bought vegan ice cream, while delicious, isn’t something I want to eat all summer long. Too much sugar and often a bit disappointing, it’s not worth to buy if you can make your own at home. This homemade vegan ice cream is:
- Made without starch: while I don’t have any problem with using starches, sometimes it’s nice to have an ice cream that doesn’t use eggs or cornstarch.
- No custard: you don’t need to stand over the stovetop stirring for ages here, waiting for the custard to thicken. The only cooking time is to heat the milk.
- Date sweetened: the recipe calls for date syrup, which is essentially liquid dates. You can use another sweetener but this adds a nice flavour and some extra nutrients.
Ingredients
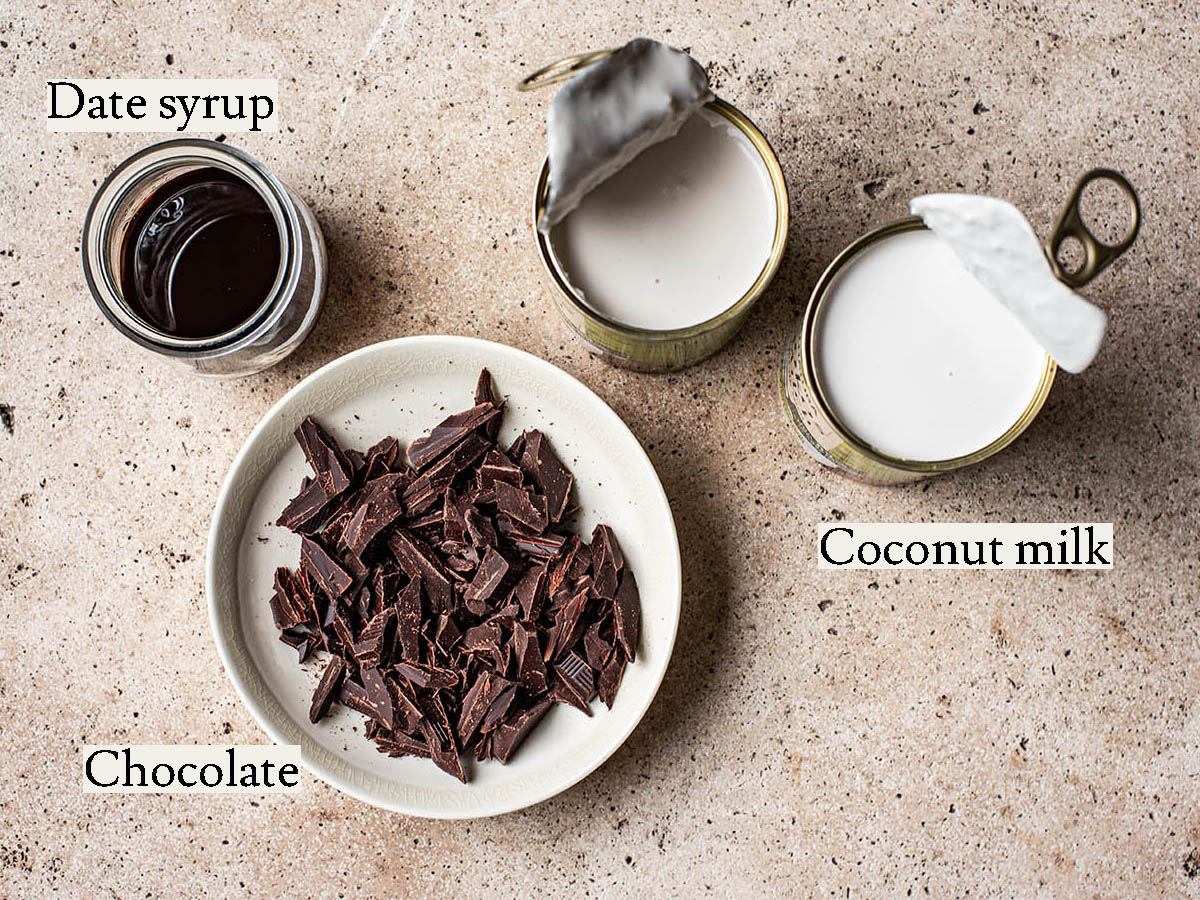
Ingredient Notes and Substitutions
- Coconut Milk: full-fat canned coconut milk must be used. Anything with less fat will result in a thin, icy mixture. You can sub coconut cream (also from a can, not in paper).
- Date Syrup: I used date syrup because I have a cupboard full from a brand I work with. The flavour is excellent, if you have it already. Otherwise, use maple syrup, or honey if you need dairy free ice cream but not necessarily vegan.
- Chocolate: I use an 80% dark chocolate bar. The darker the chocolate, the darker the ice cream will be. If you prefer a sweeter dessert, you can go down to 60%, but I wouldn’t recommend less than that. I don’t recommend chocolate chips – they tend to turn the frozen ice cream a bit waxy. Use a chocolate bar you love plain.
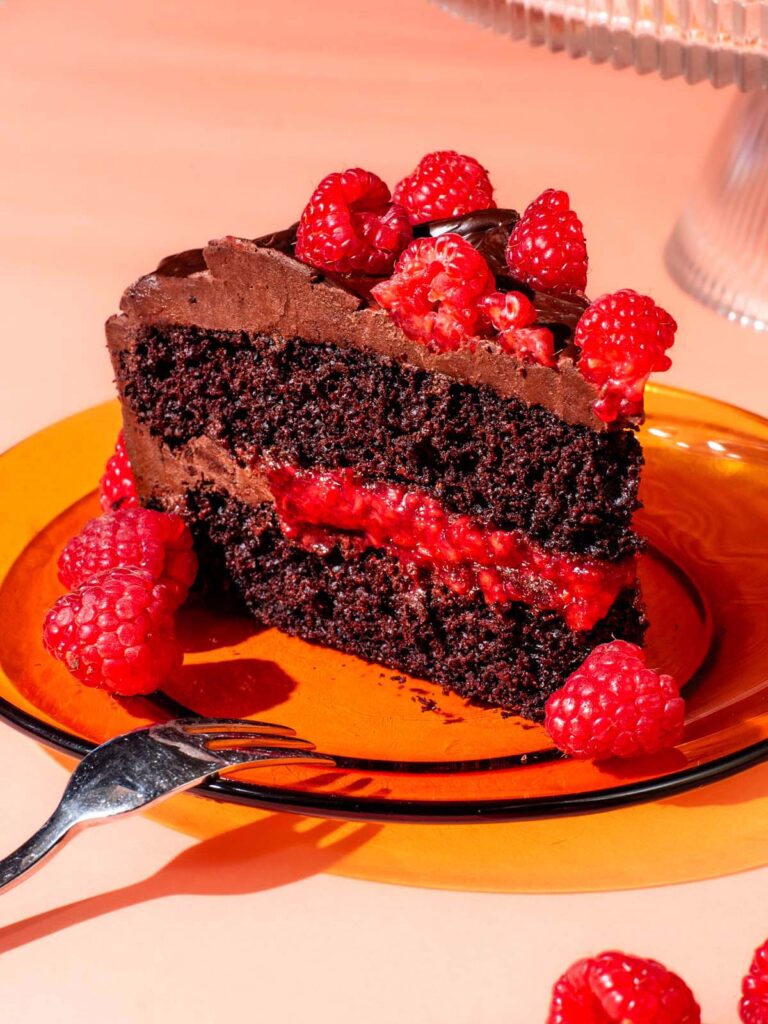
- Additions: throw some toasted coconut in at the last minute of churning, or swirl in some crushed raspberries. It’s a basic chocolate ice cream recipe, really, so you can make it into whatever you like (though ice cream sandwiches are the best).
Step by Step
1. Heat the milk: bring the coconut milk to a simmer, then pour over chopped chocolate.
2. Whisk to combine: whisk to mix the melted chocolate and the hot coconut milk.
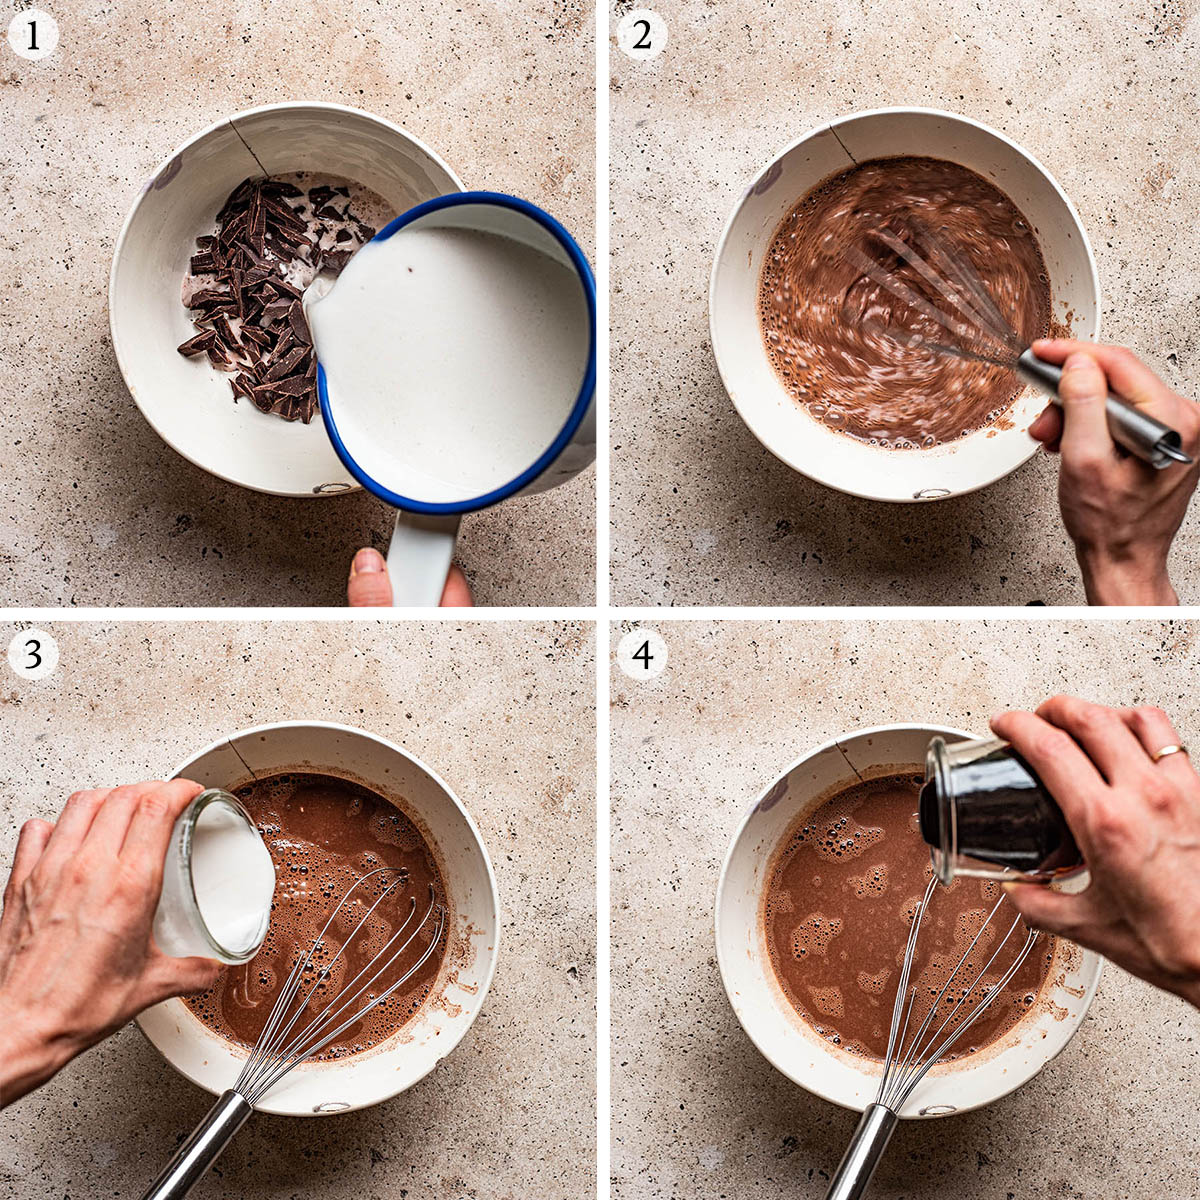
3. Add the cream: this is the extra cream from the second can of milk. It’s added before the syrup because some heat is needed.
4. Add the date syrup: and whisk very well to combine. At this point also add any other flavourings like vanilla.
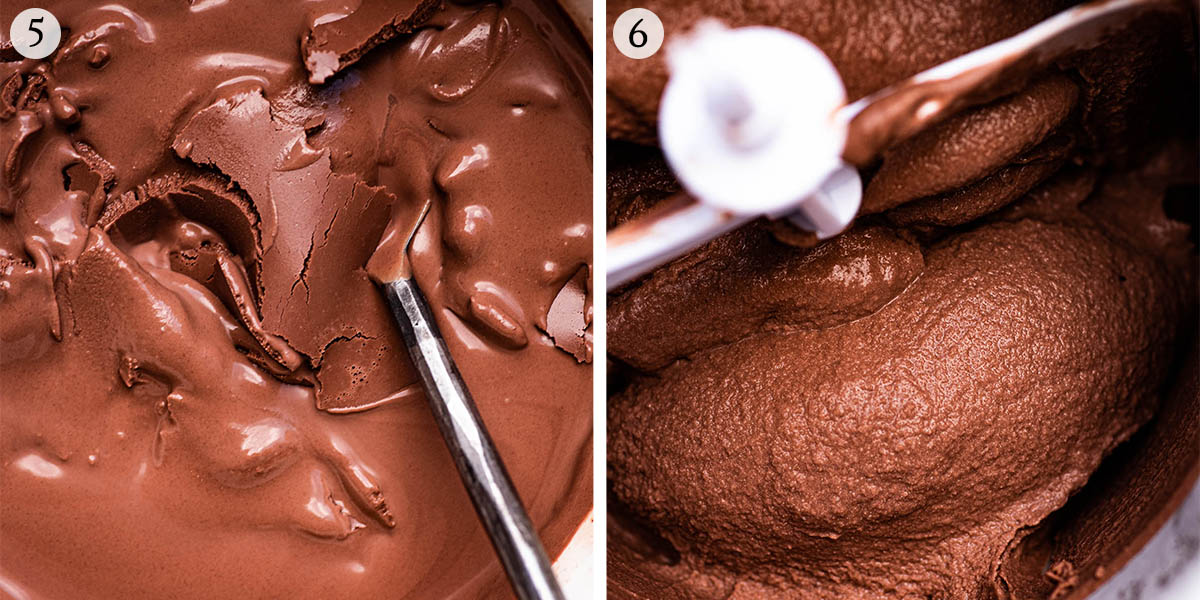
5. Cool it down: cool the mixture to room temperature before refrigerating to chill fully.
6. Churn: mix according to ice cream maker instructions, but don’t over-churn.
To Make the Ice Cream Sandwiches
Make sure you freeze your chocolate chunk oatmeal cookies ahead of time (the recipe recommends that they be frozen). Place a scoop of ice cream onto the inside of one cookie and use a spoon to spread it to cover the cookie. Place a second cookie over it, then press gently.
Use a spoon or butterknife to remove any excess ice cream from the outer edges, and to make sure it’s even between the two cookies. Repeat for the remaining cookies, and freeze immediately.
These can be enjoyed straight from the freezer, or left at room temperature for a few minutes before serving. If you know you want to make sandwiches with the cookies, do the ten minute baking time.
Recipe Notes
Using date syrup instead of cane sugar helps to prevent the ice cream from getting too hard after it’s been frozen solid. If you’d like, you can add a teaspoon or two of vanilla extract to the mix (the alcohol content helps a bit with scoop-ability).
I really, really recommend making these peanut butter oatmeal cookies for ice cream sandwiches. Even though the ice cream is great on its own and an excellent standalone recipe, it’s the best as a sandwich. The perfect combination!
How to Make it Without an Ice Cream Maker
If you don’t have an ice cream maker, you have a couple of options. Freeze the chocolate mixture in ice cube trays and then blend them in a high powered blender to break up the ice particles, then serve immediately or freeze again like regular ice cream.
Alternatively, you can place the bowl of chilled chocolate mixture into a large dish of ice and whisk until frozen to the consistency of soft serve. I recommend the first method, because the second one takes ages.
How to Store and Serve
Storage: once churned, freeze the ice cream in an airtight container for up to three months. It will freeze solid and be difficult to scoop. Having it frozen as ice cream sandwiches makes it easier to get one serving.
Serving: to scoop and serve, warm the container slightly by letting it sit out at room temperature for ten minutes. This will make it easier to scoop and will soften the ice cream again. Freeze again as usual.
Expert Tips
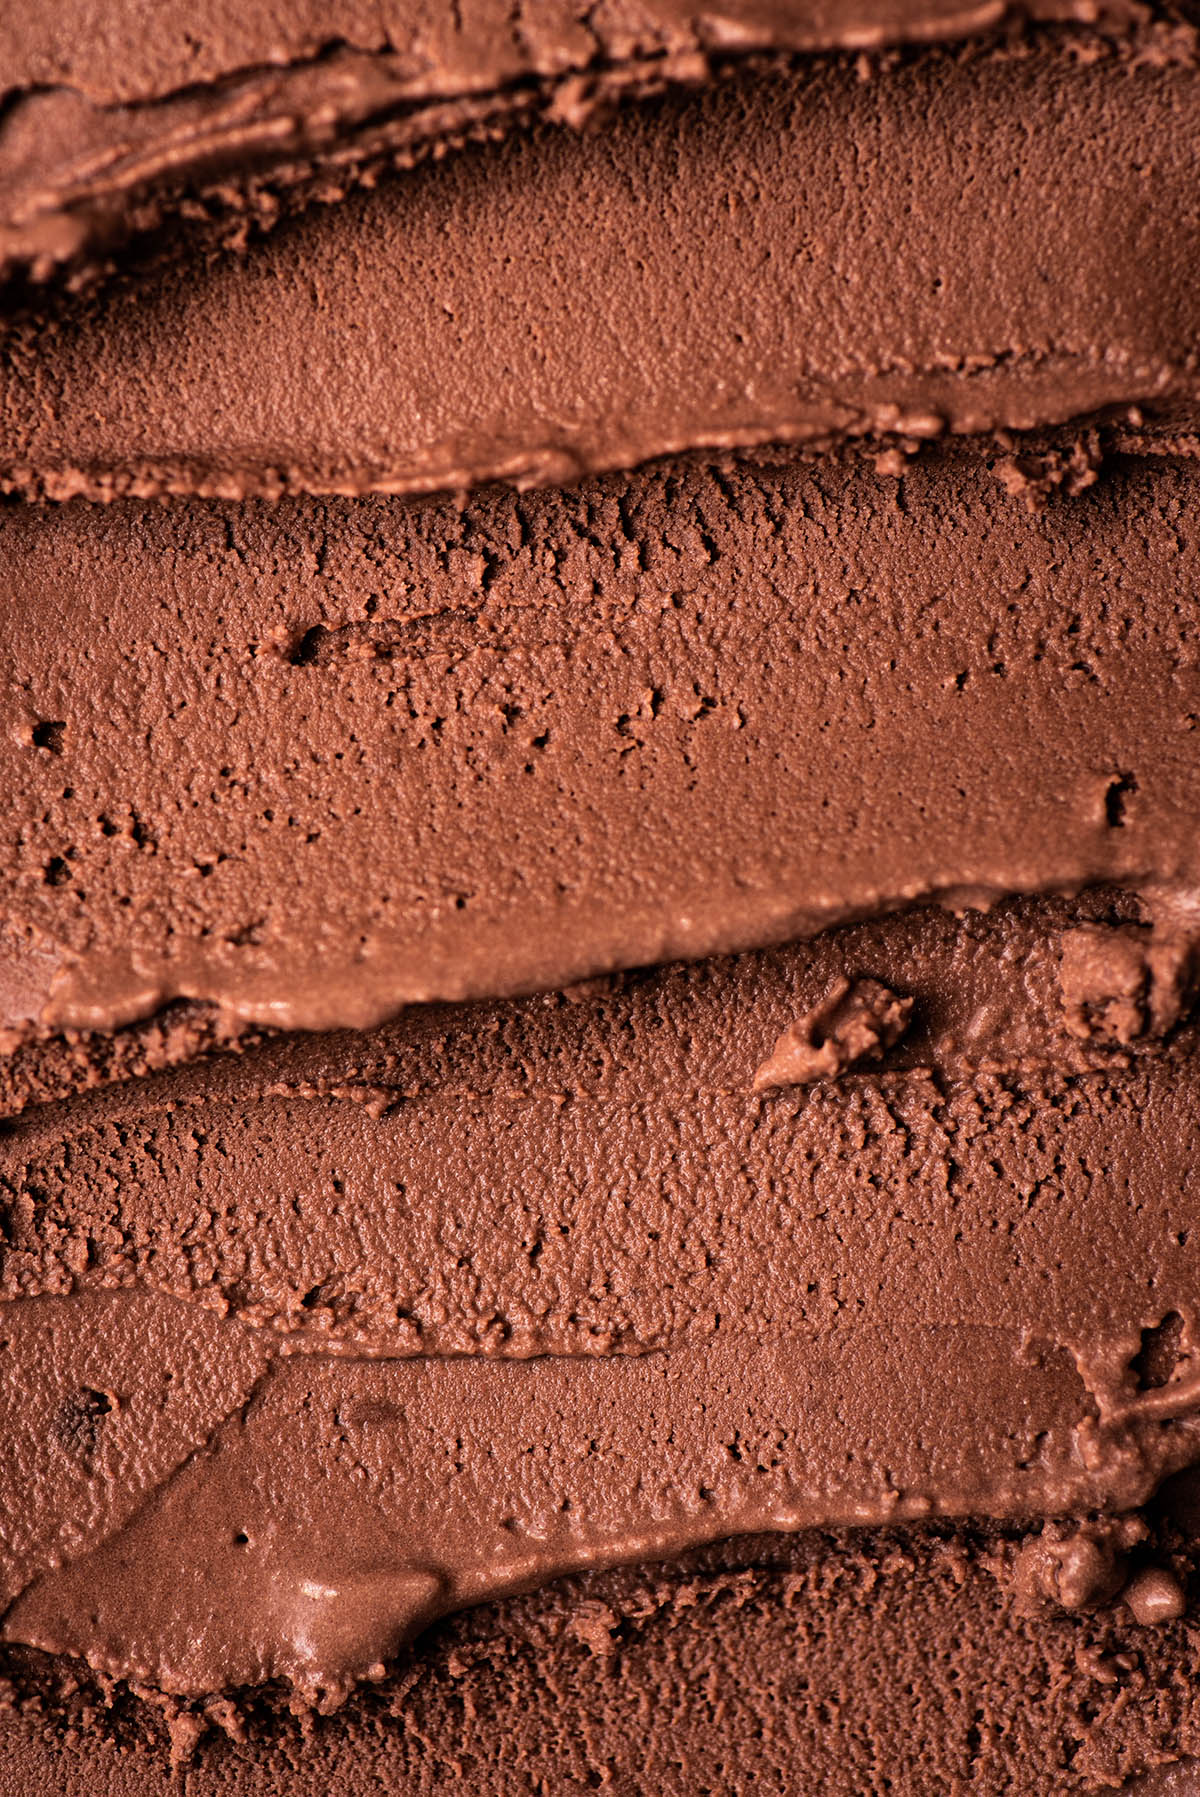
- Don’t over churn: mixing for too long in the ice cream maker will result in dry, hard ice cream. This goes for any ice cream but is particularly true when using chocolate – churn until it looks like the picture above, but don’t overdo it.
- Use good chocolate: don’t use baking chocolate or chocolate chips. It should be at most 80% cocoa solids (not unsweetened) and taste good as is.
- Go for good ingredients: this is a three ingredient recipe and the individual parts have to taste good. There’s nothing to hide behind, so be sure to choose ingredients you like on their own.
- Follow the order: the coconut cream is added separately because it only needs residual heat, and the goal is to cool the mixture as quickly as possible. Add it, then the date syrup, and it will cool more rapidly than if the cream and milk were heated together, for example.
- Add to it: consider it a base recipe that you can change up with additions. Try adding vegan cookie dough or hazelnut butter, for example.
If you make this Coconut Milk Ice Cream or any other vegetarian dessert recipes on Occasionally Eggs, please take a moment to rate the recipe and leave a comment below. It’s such a help to others who want to try the recipe. For more OE, follow along on Instagram, Facebook, and Pinterest, purchase the Occasionally Eggs cookbook, or subscribe for new posts via email.

Three Ingredient Chocolate Coconut Milk Ice Cream
Description
Ingredients
- 2 cans full-fat coconut milk divided (400 ml / 13.5 oz.)
- 100 grams (3.5 oz) dark chocolate or one bar, finely chopped
- 60 ml (¼ cup) date or maple syrup
- 1 batch Vegan Peanut Butter Oatmeal Chocolate Chunk Cookies for sandwiches
Instructions
- Make sure your ice cream maker is full frozen and ready to use before proceeding.
- Pour one full can of coconut milk into a small saucepan and heat over medium heat until just simmering.2 cans full-fat coconut milk
- While the milk is heating, place the chopped chocolate into a large bowl. Scoop the cream out of the second can of coconut milk and set aside.100 grams (3.5 oz) dark chocolate
- Once the milk is hot, pour it over the chopped chocolate into the bowl. Let this rest for 30 seconds, then whisk until fully combined.
- Add the separated coconut cream to the bowl and whisk again. The residual heat should melt any lumps of cream.
- Add the date syrup and whisk again until fully combined. If you are adding any extras, like vanilla, this is the time to do so.60 ml (¼ cup) date
- Cool the ice cream base to room temperature before refrigerating to chill fully, at least four hours.
- Pour the chilled mixture into your prepared ice cream maker. Churn according to the machine instructions, until creamy and frozen.*
- Place the churned ice cream into an airtight container and freeze. Remove it from the freezer and let it sit out for ten minutes at room temperature before serving.
- For ice cream sandwiches, simply sandwich a scoop of ice cream between two of the oatmeal cookies and freeze again before serving.1 batch Vegan Peanut Butter Oatmeal Chocolate Chunk Cookies
Notes
Nutrition
Nutrition is provided as a courtesy and is an estimate. If this information is important to you, please have it verified independently.
This post was first shared in July 2020. It has been updated with more information as of August 2022 with no changes to the recipe.

Hello… I’m going to make this Ice Cream. Just wanted to let you know that at the top of this page you say maple syrup but it’s date syrup in the recipe. I’m a big fan of date syrup so am going to use that.
Vegan chocolate ice cream, made with just three ingredients – coconut milk, dark chocolate, and maple syrup. It’s a lightly sweet, creamy ice cream, and so simple to make.
Hi Karen, I hope you like the ice cream. The recipe calls for date or maple syrup, and I think I used maple in the blurb because it’s more common than date so people are more likely to choose maple syrup for this recipe.
reading your blogposts always puts my brain into creation mode. now there’s this idea of whipping the mixture before freezing to make a semifreddo kind of thing that stuck to one corner of my mind. and of course the reads here make me hungry every time lol
Thanks Chiara! You’re right, this could totally be a frozen mousse kind of deal, what a great idea.