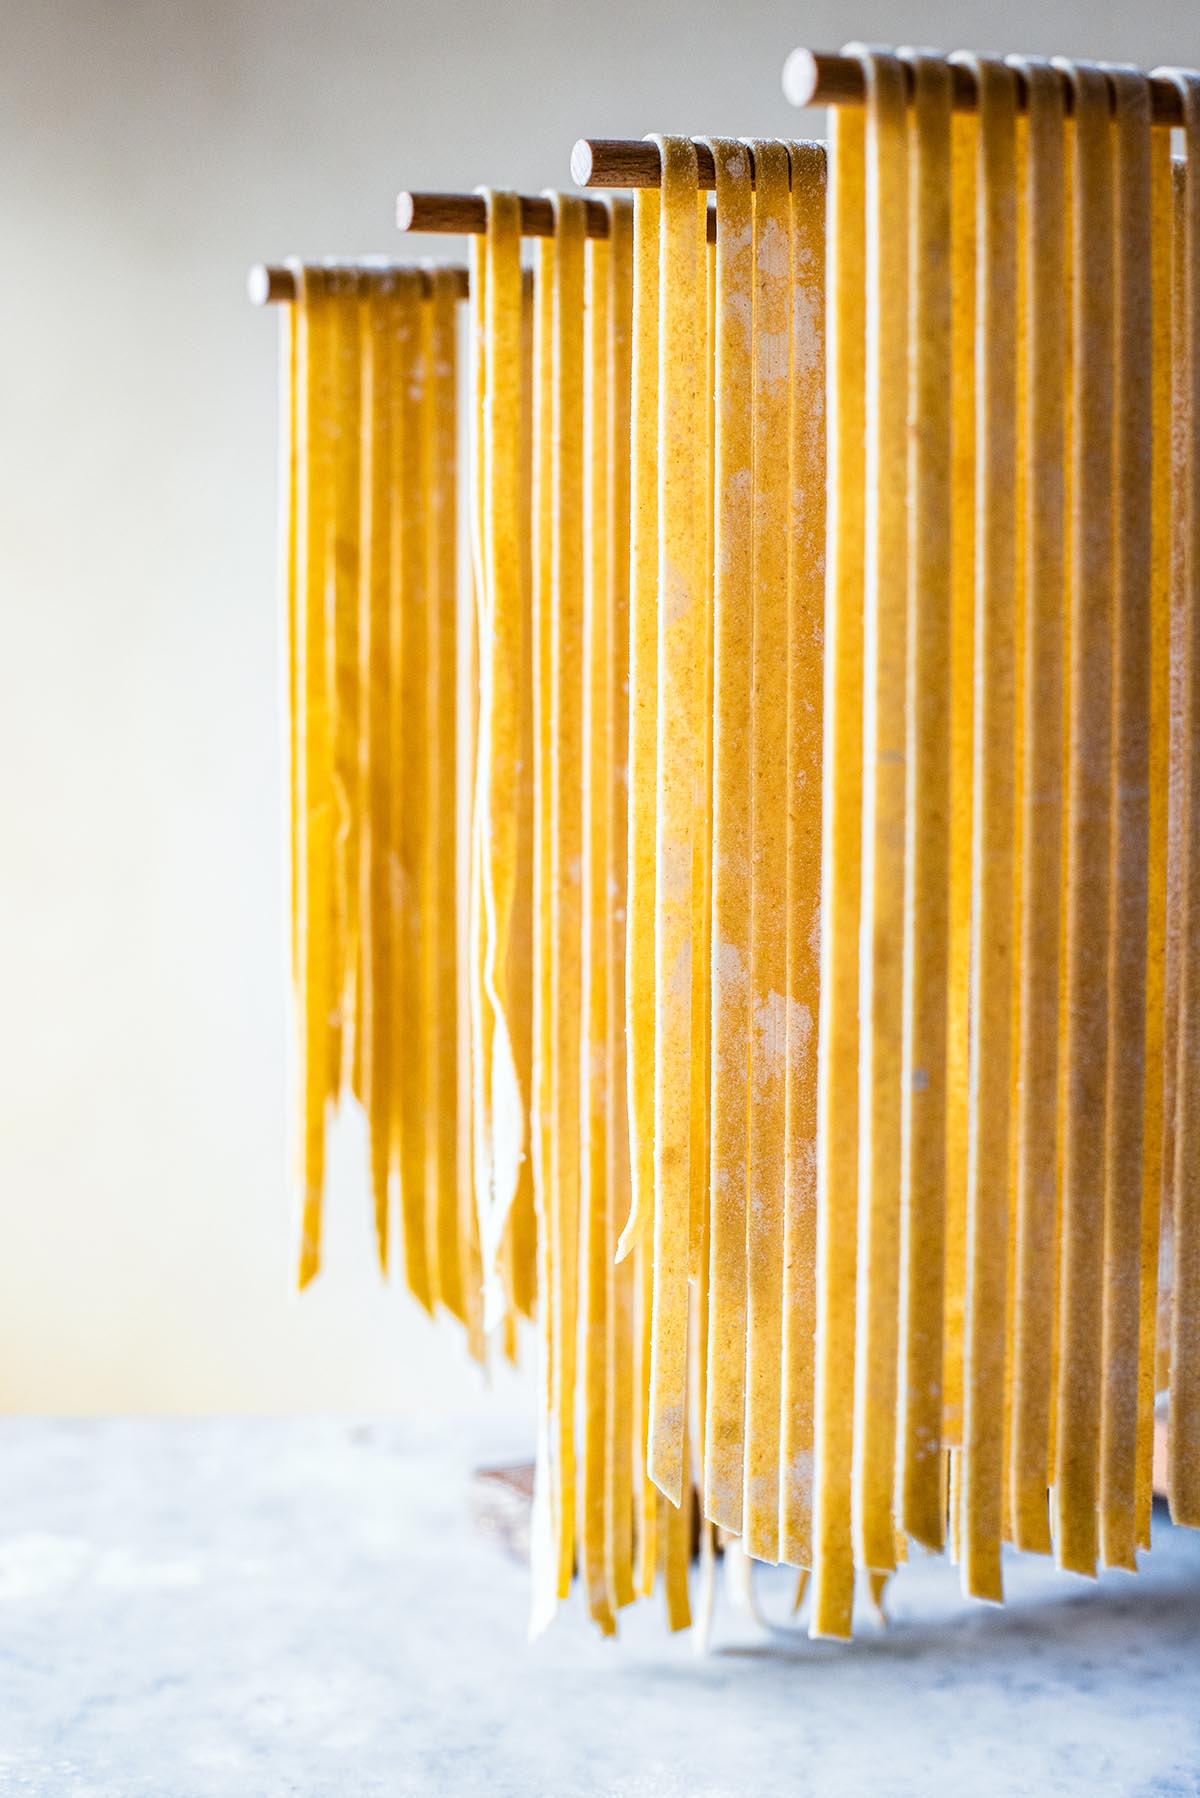
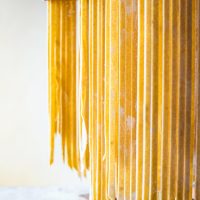
The best thing about kamut pasta is how similar the texture is to semolina and soft wheat pasta despite being whole grain. It’s easy to work with, too, and has a gorgeous colour even without eggs.
Kamut, or khorasan wheat, is an ancient grain, a precursor to modern wheat. Like all wheat-y grains, it probably originated in the fertile crescent. Though Kamut can be a bit tricky to find, it’s getting easier and easier, with a number of companies now stocking it in various forms in North America (a bit harder to find in Europe, still, but possible).
Khorasan wheat is mostly grown in the Canadian prairies and American midwest these days – meaning it’s grown close to where I grew up in Canada and was easily available years ago in Manitoba. Flourist out of BC used to carry it – it doesn’t look like they are right now – but Bob’s Red Mill does, and you might even be able to find a farmer growing it in your region.
If you haven’t tried whole grain pasta before, or you’d like to shift into a healthy pasta variety but want to keep a very similar texture and flavour to white pasta, this is what you need. Kamut pasta is as close as it gets, and so much better than plain old whole wheat.
You can buy it but it usually costs upwards of $5 a pack, which gets pretty pricey. Make it at home for less than $1 a batch and it’ll be much tastier (as fresh pasta always is) as well as a fun weekend project. Pasta making is the best of slow food. If you like making your own pasta, and working with ancient grains, try spelt pasta as well.
Recipe Notes
I’ve tried making kamut pasta with eggs a couple times, but found this version both tastier and easier to work with. It’s a much softer dough. If you like plenty of bite, you can try adding a couple eggs in place of the water.
If it’s your first time making pasta, try it with water first – especially if you’re rolling it by hand. The egg version was impossible with a rolling pin. We had three people going in turns, and I’m pretty sure my rolling pin just about snapped in half.
I am not a fan of mixing pasta dough on a worktop when first mixing the liquids in. It’s unnecessarily messy and can be done in a bowl, then turned out onto a worktop to knead.
It’s important to go by feel with pasta – you may need slightly more water, depending on how much your flour is absorbing. As you can see in the photos, it will look quite dry until you’ve kneaded for a while so resist the urge to add water right at the beginning.
The vinegar makes it more tender. You can leave it out or use lemon juice instead.
Step by Step
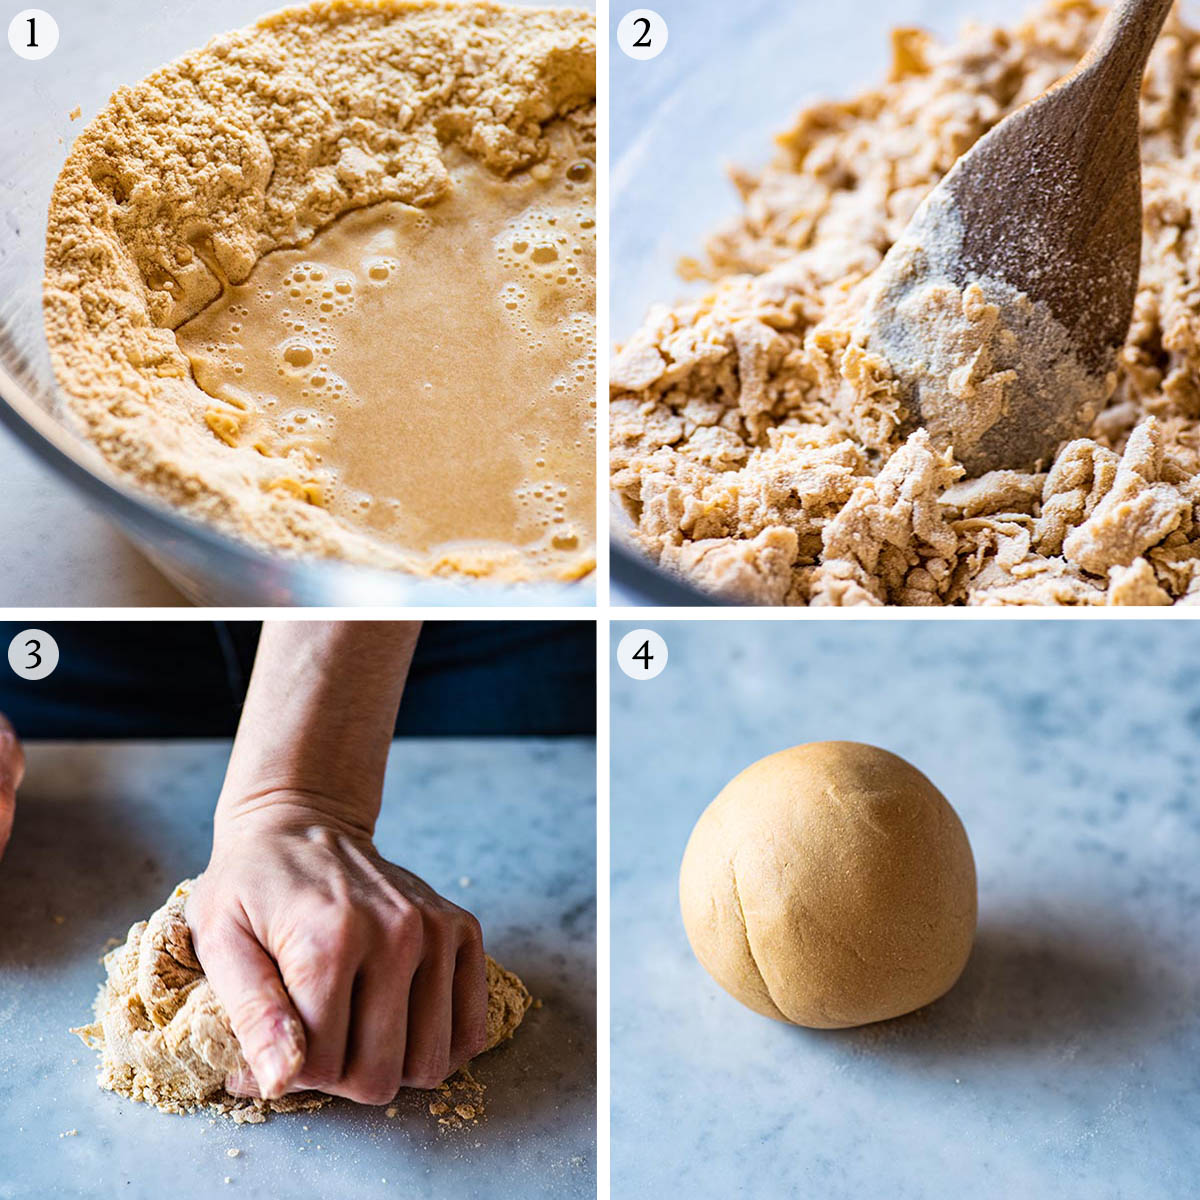
1. Mix ingredients: add the flour to a large mixing bowl and mix with the water and vinegar.
2. Stir: mix with a wooden spoon until the dough becomes too hard to stir.
3. Knead: turn the dough onto a work surface and knead with your hands.
4. Form a ball: after a few minutes of kneading, the dough should be very smooth and silky, and form into a ball easily. Cover and set aside to rest (I use an overturned bowl, not plastic wrap).
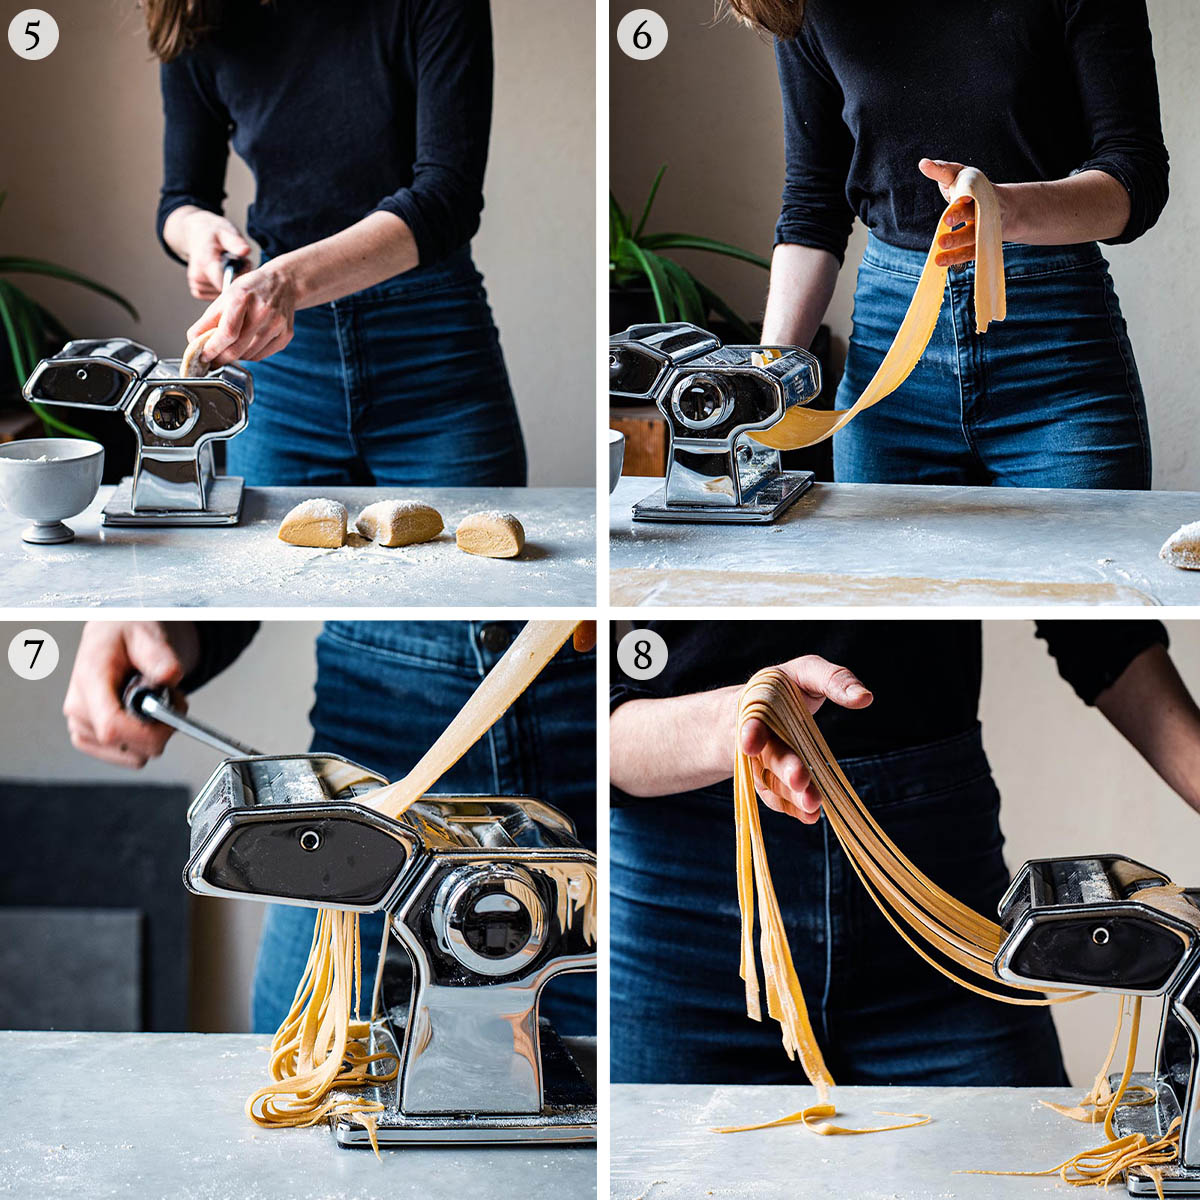
5. Divide: cut the dough into four pieces, then coat lightly with flour.
6. Roll: run the pieces through the machine, starting at the largest setting and progressively rolling into thinner and thinner sheets.
7. Cut: dust with flour and then run through the cutting attachment.
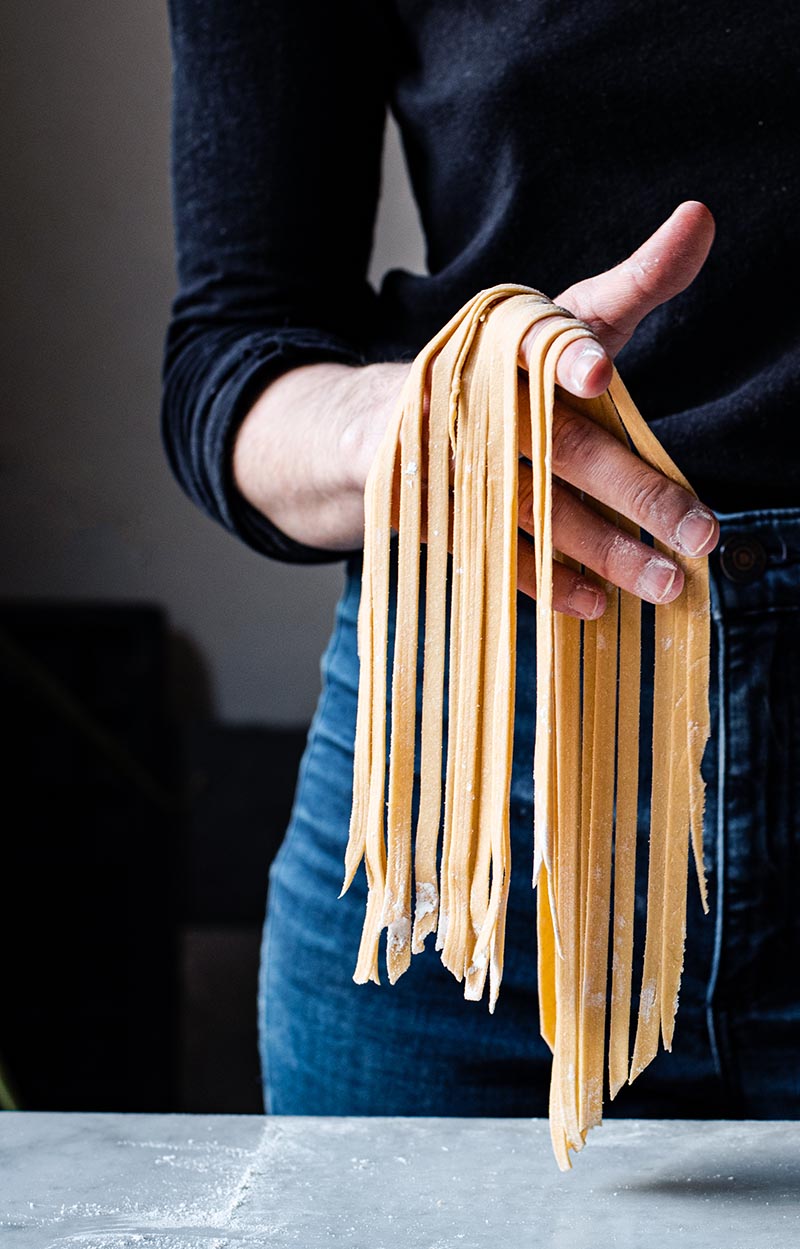
8. Lift and dry: use your other hand to lift the pasta away as it’s being cut to prevent sticking, then set on a rack to dry fully, or cook immediately.
How to Store
Storage: the best method of storage is to dry the pasta fully, then store in a sealed container as you would any other dried pasta. Make sure it is 100% dry.
Freezing: you might prefer to freeze your fresh pasta. If so, form little nests (how you usually see tagliatelle sold) and be sure to toss the pasta in flour beforehand. Freeze in an airtight container for up to one month and cook from frozen.
Do I Need a Pasta Machine?
No, but it’ll make your life a lot easier. I usually can’t be bothered to make it by hand – it doesn’t help that my kitchen is absolutely minuscule – but this is simple to make with a machine. You can use a crank machine as pictured or an electric one.
If you’re used to making pasta, treat this like any other dough. It goes through the rollers easily, cuts well with a bit of flour, and dries normally. You can see some step by step photos in the post so you know what to look for regarding texture before and while rolling.
Serve With
One of my favourite ways to eat fresh pasta is very simply with a squeeze of lemon, a drizzle of olive oil, pepper, and some greens (like this quick garlic spinach pasta). But if you need more inspiration for some great vegan pasta, here you go!
Lentil Bolognese
Roasted Summer Vegetable Pasta
Hummus Pasta
Vegan Pumpkin Pasta
Super Green Pasta
If you make this Kamut Pasta or any other vegetarian staple recipes on Occasionally Eggs, please take a moment to rate the recipe and leave a comment below. It’s such a help to others who want to try the recipe. For more OE, follow along on Instagram, Facebook, and Pinterest, purchase the Occasionally Eggs cookbook, or subscribe for new posts via email.
Kamut Pasta
Description
Ingredients
- 300 grams (3 cups) kamut flour
- 250 ml (1 cup) water*
- 1 tablespoon apple cider vinegar**
Instructions
- Add the flour to a large bowl and make a well in the centre. Add the water and vinegar. Using a wooden spoon or your hands, slowly bring the flour to the centre of the bowl and mix, always moving from the outside in.300 grams (3 cups) kamut flour, 250 ml (1 cup) water*, 1 tablespoon apple cider vinegar**
- Mix for a minute or two, until a stiff dough forms. If it still isn’t coming together after mixing for a while, add water by the tablespoonful until it does. It should be crumbly but hold together when pressed (see photos).
- Transfer the dough to a clean worktop. Knead for about 5 minutes, or until a smooth ball of dough forms. It will feel quite hard but should be almost silky to touch.
- Wrap the dough in a tea towel and cover with a bowl. Let it rest at room temperature for at least 30 minutes. Alternatively, refrigerate for up to 24 hours and bring back to room temperature before rolling.
- Once the dough has rested, cut it into 4 equal pieces. Using your hands, flatten each piece to about 2cm / 1 in. thick. Generously coat the pieces in flour, then roll through the thickest setting on your pasta maker.
- Continue rolling the dough, going through the thickest setting several times, folding a few times, before moving to the next setting. Add flour to coat as needed. I usually go to number 6 before moving on to cutting, but follow your machine instructions.
- Once the dough has been rolled out to the desired thickness, sprinkle the sheets with some more flour and then cut into your desired pasta shapes. Place the cut pasta onto a wooden drying apparatus while you cut the remaining sheets, or coat with a light dusting of flour and make nests to set aside.
- Depending on how you’ve cut it, the pasta will need different cooking times. Generally 2-3 minutes in well-salted water at a rolling boil will do it.
- To store the pasta, dry on a rack for about 24 hours, or until fully dry, and store in a sealed container for up to a month.
Notes
Nutrition
Nutrition is provided as a courtesy and is an estimate. If this information is important to you, please have it verified independently.
This post was originally published in October 2015. It has been updated as of February 2020 with new photos and updates to the recipe and text.

I adore these noodles but have never prepped enough to worry about storage… How do you know the noodles are 100% dry? The one time I tried they went moldy so I assume they were not dried enough.
Hi Kris, so glad to hear you like the recipe. When they’re completely dry they should snap just like dried pasta from the store, but if your home is humid, they might not dry completely when set out. That has happened to me in a couple of places and in that case I dry them for 24 hours before placing in the freezer to prevent any spoilage issues. If you’re drying and then storing in plastic that could also be trapping some external moisture that’s causing mould too.
Its looks soo good! Im going to try this! Instead of drying pasta, can i simply freeze them? Thanks for that great recipe!
Hi Anne Marie, I think you’d be fine with freezing them. My concern has always been that they might stick when cooked if they’re frozen rather than dried, but I think if you dust with a bit more flour before freezing, it should be okay!
Made this today with a white sauce and steamed vegetables. It was so delish! It reminded of whole wheat in texture and taste. Thank you for this recipe.
Your recipe looks wonderful. I started to mill my own flour recently, I don’t have this type, but I have Red Fife wheat grains, would it be ok? Thank you!
Hi Danielle, I haven’t tried this with Red Fife, but it should be about the same. You may need slightly more flour but play around with it a bit. I would recommend using weights if you’re milling it yourself!
Thank you so much! Sorry fir the delay. I haven’t made them, but I will… and I will buy Khorasan wheat berries… can’t wait.
Also, can I debydrate pasta in my dehydrator? Thank you!
I have never tried dehydrating it! The pasta dries so quickly on wooden dowels that I’ve never really considered using the dehydrator, but I don’t see why it wouldn’t work.
Made this today with a white sauce and steamed vegetables. It was so delish! It reminded of whole wheat in texture and taste. Thank you for this recipe.
I loved your post!
I’ve recently started making Greek yogurt and end up with about a cup of sweet whey. Because whey is loaded with protein and vitamins, I tried adding it to the kamut pasta I make. I use eggs and whey and it is the tastiest pasta that I’ve made! If you ever strain yogurt, keep the whey and use it in your pasta.
Can you use this dough for potstickers.
Hi Wanda, I’ve never tried it! If other pasta dough works for potstickers, then this probably would.
Thanks for that – I made it and it was delicious.
All I can say is Yes, yes, yes!
I've never made pasta, before. Could you give instructions how to knead this in a stand mixer, if you know, please? Would I need to do the first step, first, manually, or can all the ingredients be put, directly, into the bowl of the stand mixer? If so, would I use the flat beater, first, to combine the ingredients, and then switch to the dough hook?
A pasta dough is way too stiff for a stand mixer. It’s possible in a food processor to a point. Once it comes together, the pasta machine will help you to knead it. Set it to the thickest setting and put the sough through here a half dozen times then for a ball and allow it to rest according to the recipe directions above.
Note- when using the food processor, you will have to test for enough water in the dough betaking a bit of it and pinching it with your fingers to see if it holds together.
You’ve got the idea. Yes! KitchenAid stand mixer‘s work great for this recipe. Start out with the mixing blade. After the dough begins to come together, put on your dough hook to complete the task.