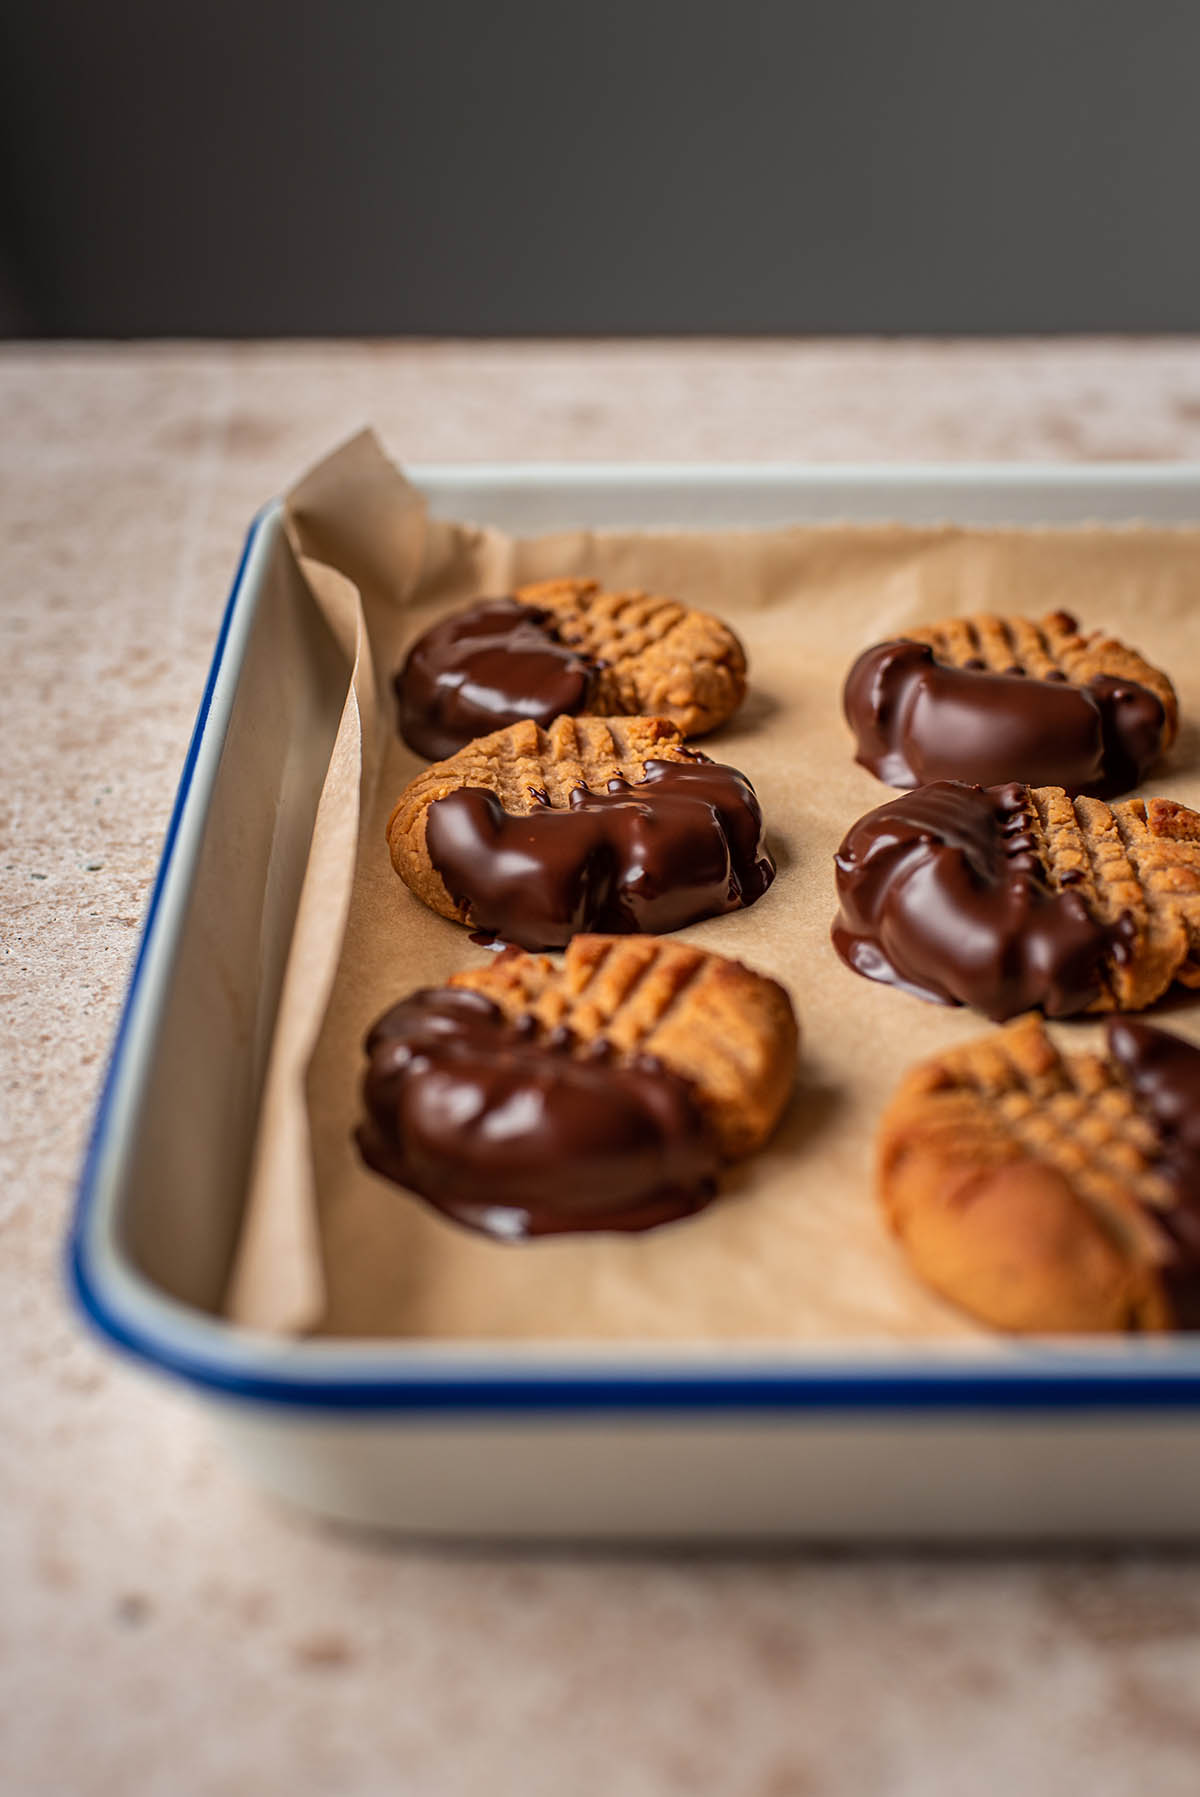
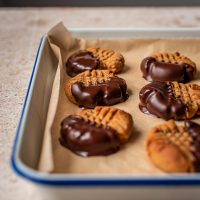
My go-to flourless peanut butter cookie recipe! My go-to PB cookie recipe in general, actually, because it’s better than a regular cookie. It’s way too easy – no egg beating, just one bowl, no effort but a bit of stirring. The end result is a slightly soft and chewy cookie that’s just sweet enough.
There are lots of egg, peanut butter, and sugar PB cookies out there but they’re so sweet and I always think it’s nice to 1. have a healthier option, and 2. a great egg-free cookie. This recipe uses pretty simple pantry ingredients.
If you want another good gluten-free peanut butter cookie recipe that’s a bit more exciting, check out my Vegan Peanut Butter Oatmeal Chocolate Chunk Cookies, also made with coconut flour.
Why You Should Try This Recipe
Because this is such a simple recipe, I make it a few times every month just to have cookies on hand. The cookies are delicious, totally nostalgic, and not too sweet – they’re also:
- Made in one bowl: less dishes, yes please. Gluten-free baking often only needs one bowl because it’s virtually impossible to over mix.
- Use only six ingredients: or seven, if you dip them in chocolate, but the base recipe only needs a handful of easy to find ingredients.
- Higher in protein and fibre: each cookie has about 4g of protein and 3g of fibre, and they’re small cookies.
Ingredients

Ingredient Notes and Subsitutions
- Peanut butter: any nut or seed butter – like sunflower seed butter – can be used instead of peanut. This is great if you’ve run out or if you’re allergic. I’ve often made this recipe with sunflower seed butter for others if I’m not sure there’s an allergy.
- Maple syrup: runny honey can be used in place of maple syrup if they don’t need to be 100% vegan, as always with my recipes. I haven’t tested agave, but date syrup works well.
- Non-dairy milk: I almost always use oat milk. In a pinch, water can be used instead.
- Olive oil: any liquid oil can be substituted. I have made these with coconut oil, but it must be melted (and then be sure the other ingredients are at room temperature).
Step by Step
1. Add the wet ingredients: and the salt (everything but the flour) to a large mixing bowl.
2. Mix: stir until homogenous – it should be very well mixed.
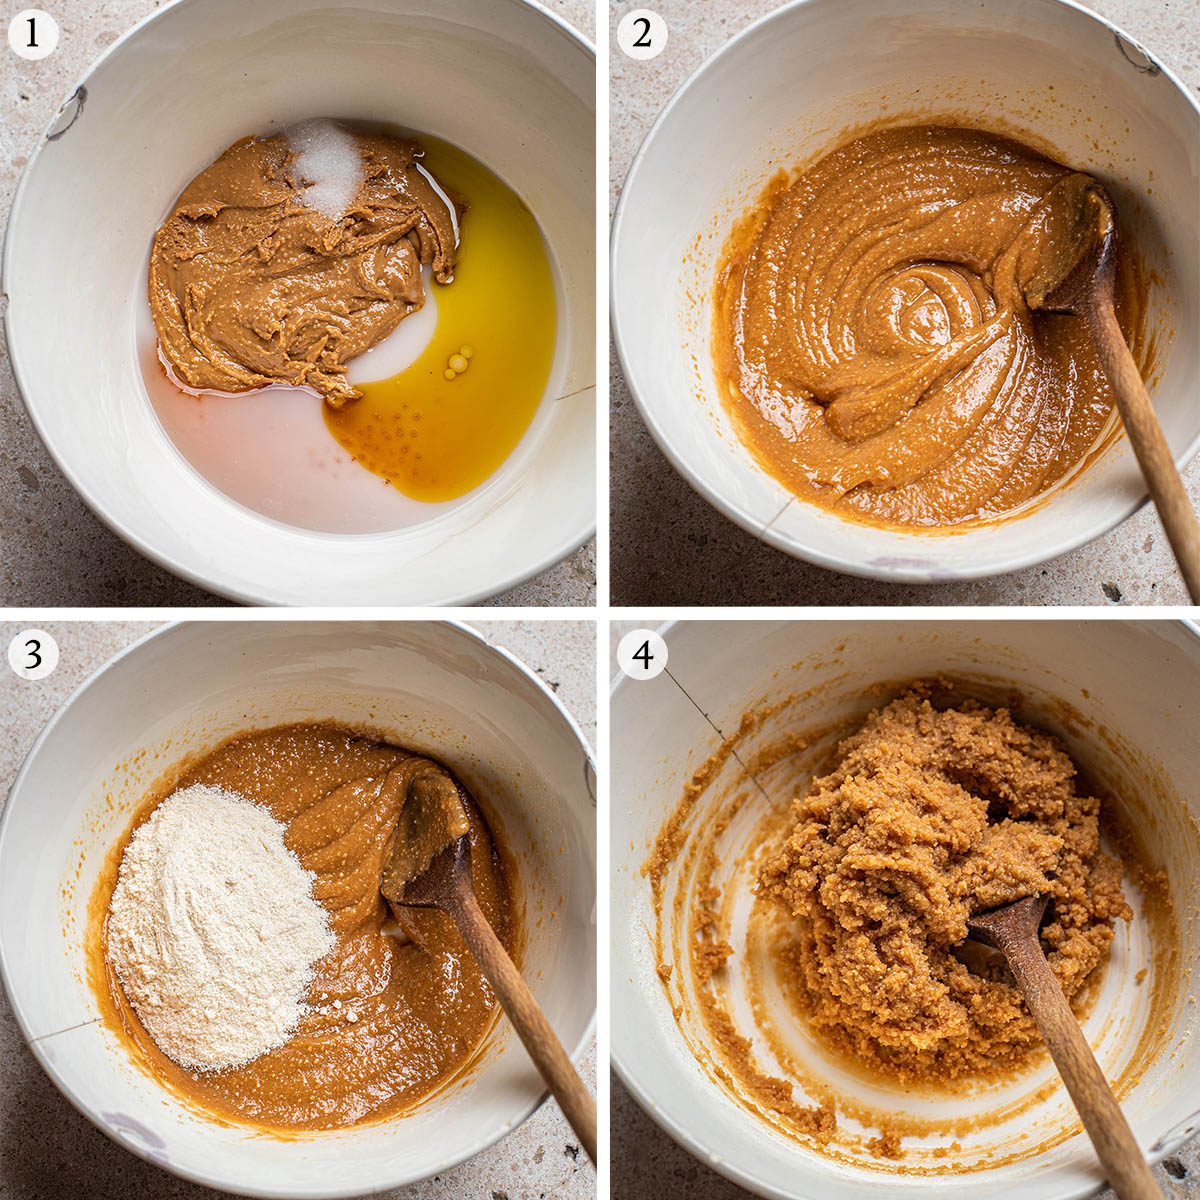
3. Add the flour: either by tablespoon or the full amount if you’ve made the cookies before.
4. Mix: keep mixing until the cookie dough seizes and can be scooped.
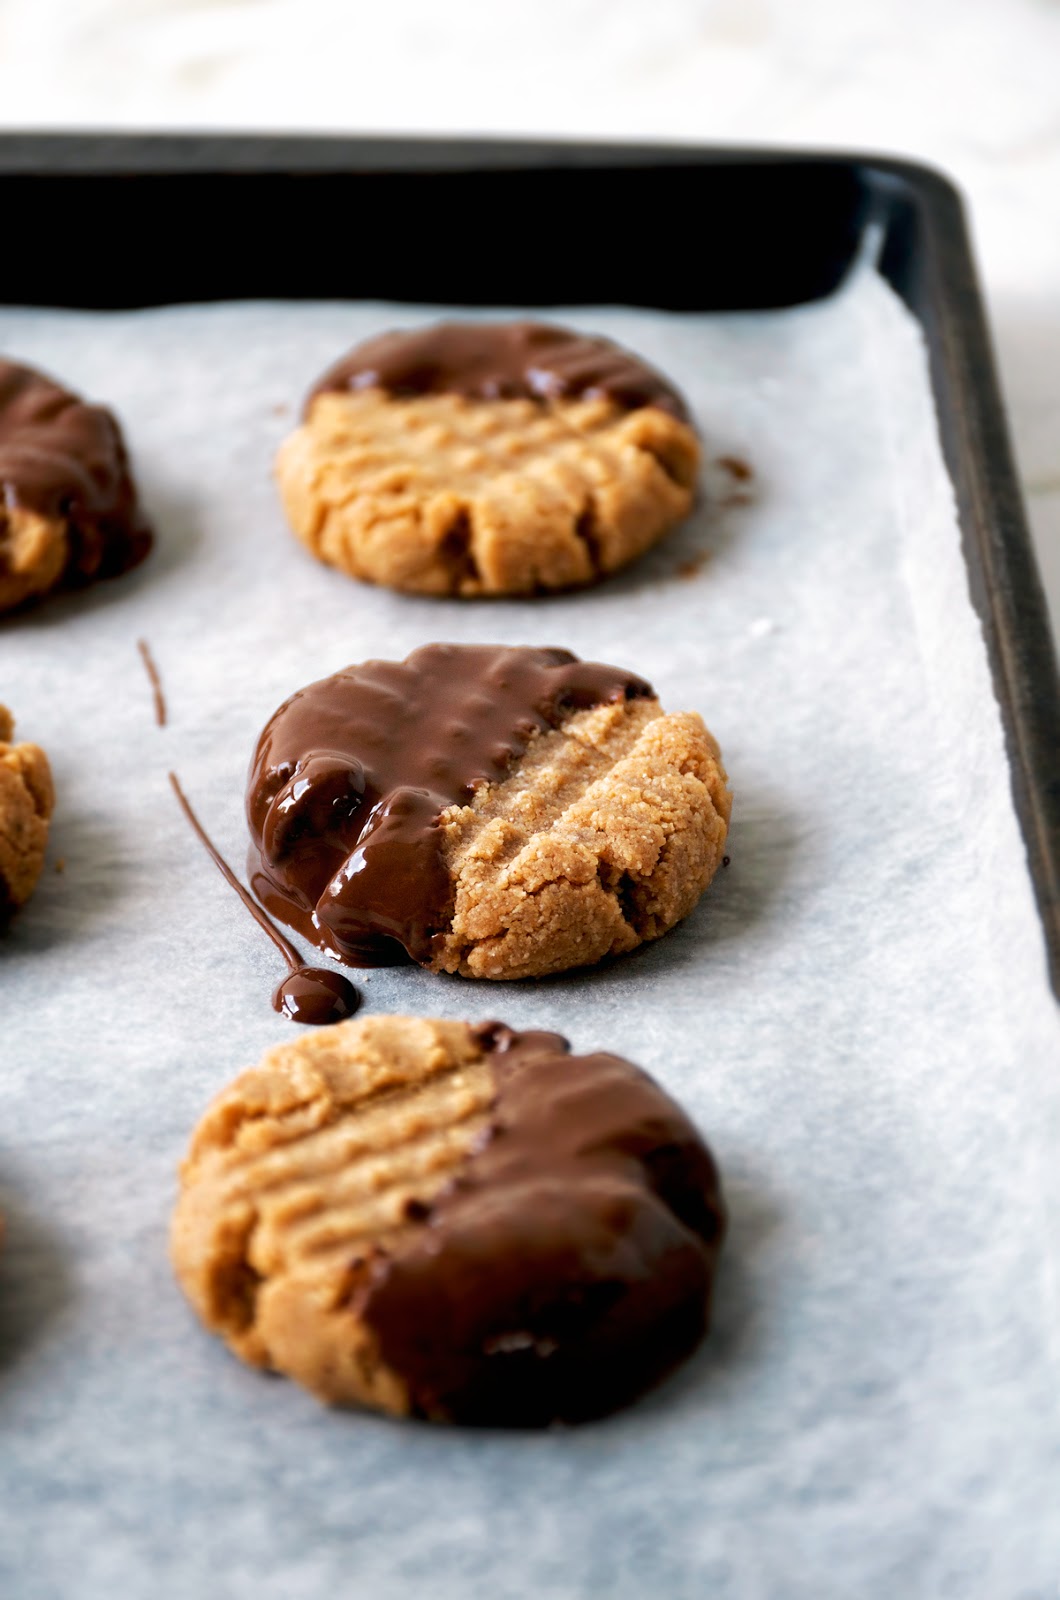
5. Roll and press: use your hands to roll into equal balls, then press with a crosshatch pattern.
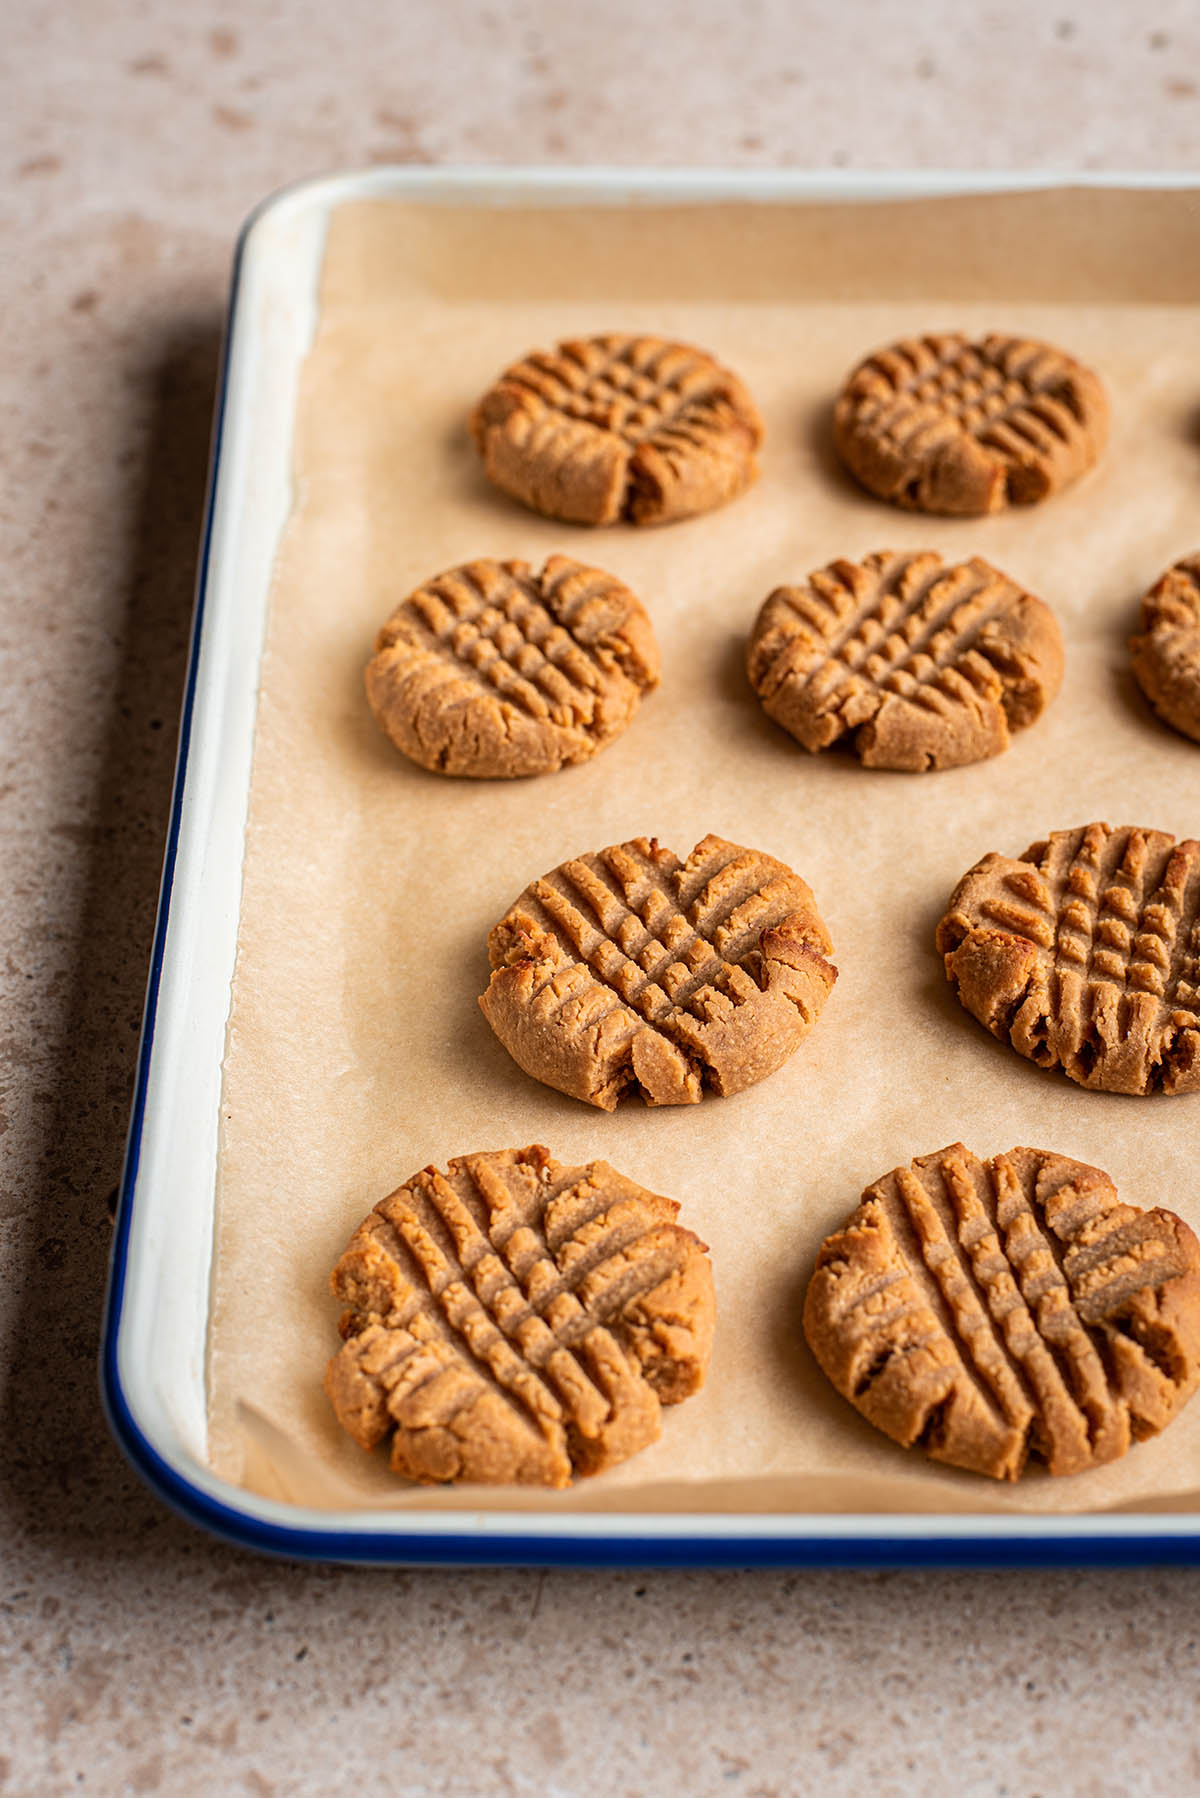
6. Bake: bake the cookies on a parchment-lined baking sheet until just golden.
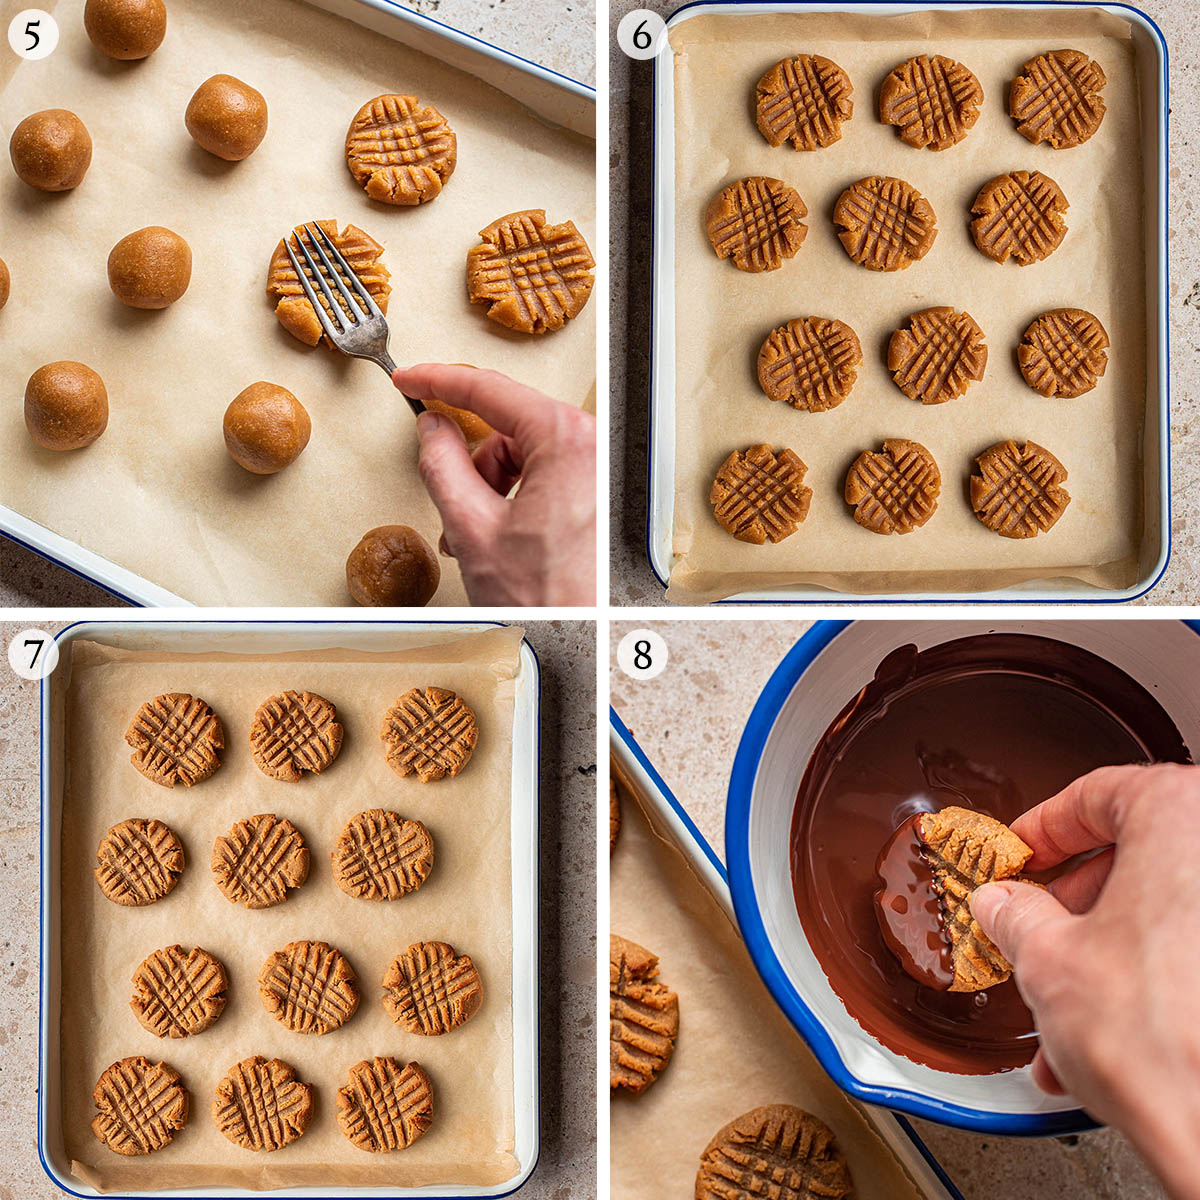
7. Cool fully: if you have the time, cool the cookies at room temperature before dipping. If not, freeze for a few minutes first.
8. Dip in chocolate: dip the cooled cookies into melted chocolate, set, and serve.
Recipe Notes
If your coconut flour is temperamental, you may need to add a bit more of it, or a touch more milk. It is key, though, to make sure you stir your cookie dough for long enough before thinking oh no! it’s my flour! because it might look like it isn’t thickening up when really it just needs a bit more time.
If your dough is very soft, add more flour a tablespoon at a time, stirring for another 30 seconds with each addition. If your dough is too hard (though this should be avoided by adding the flour a tablespoon at a time to start with) do the same thing but with milk, until the dough looks like it does above.
For a large family or to make these as gifts or for a gathering of some kind, simply double, triple, or quadruple the recipe. It’s a relatively small batch at 12 small-ish cookies because we’re a two person family and I have no self control.
It is very important that you use natural peanut butter with no additions beyond perhaps salt. Roasted or raw doesn’t matter, but don’t use a version that has oil or sugar added – it won’t work for this recipe. If yours has salt added, reduce the salt used in the recipe by half (or omit it altogether if you know it’s particularly salty peanut butter).
About Coconut Flour
Coconut flour isn’t a flour at all, really, but very finely ground dried coconut – like almond flour. It’s gluten and grain free, very high in fibre, and can be quite nice to bake with. I’ve used it before in my gluten free chocolate cupcakes, and usually you need eggs to act as a binding agent. It works fairy well for cookies but can’t be substituted into recipes easily because it absorbs a lot of moisture. Make sure you’re using a recipe that specifically calls for coconut flour.
Please note that coconut flour can vary hugely from brand to brand. I always used Nutiva in Canada (not sponsored), but now use any type and never have issues. There are some notes above about what to do if your cookie dough is too thin or too thick. It’s usually due to differences in flour.
If you’re concerned about a coconut flavour, it’s not noticeable in these cookies. You’re using a comparatively small amount and peanut butter is the overwhelming taste. My mom, for example, loves these cookies but generally despises coconut.
How to Store
Storage: place cooled cookies in a sealed container and keep at room temperature for up to three days, or refrigerate for longer, about a week.
Freezing: freeze in an airtight container for at least a month. I find the chocolate isn’t as good after freezing and the cookies without a chocolate dip can be frozen for longer, about three months.
Expert Tips
- Coconut flour: If this is your first time using a specific brand of coconut flour, add it a tablespoon at a time, stirring between additions. If you’re used to the flour you’re using, add the full amount.
- Don’t make unlisted substitutions: other grain-free flours can’t be subbed 1:1 for coconut flour here. Though you might be able to use cassava flour, or even almond flour, they absorb liquids at a different rate and will require differing amounts. This is a coconut flour specific recipe.
- Check oven temperature: this is a common problem. Home ovens often run 10-20°C off from what they’re set at (I’ve had an oven that was often 50°C too hot!) so a small oven thermometer works wonders. If you find that your bakes are often failing despite following the recipe exactly, you may need to check this.
- Use soft peanut butter: the hard, dry bits at the bottom of the jar aren’t ideal for this recipe. It should be runny, or at least spoon-able, but not dry.
More Gluten-Free Peanut Butter Recipes
Flourless Chocolate Peanut Butter Brownie Cookies
Blueberry Peanut Butter Smoothie
Peanut Butter, Banana, and Chocolate Popsicles
Peanut Butter Banana Oatmeal Cookies
If you make these Gluten Free Peanut Butter Cookies or any other dairy free cookie recipes on Occasionally Eggs, please take a moment to rate the recipe and leave a comment below. It’s such a help to others who want to try the recipe. For more OE, follow along on Instagram, Facebook, and Pinterest, purchase the Occasionally Eggs cookbook, or subscribe for new posts via email.
Ultimate Gluten Free Peanut Butter Cookies
Description
Ingredients
- 150 grams (½ cup) natural smooth peanut butter
- 60 ml (¼ cup) maple syrup
- 2 tablespoons oat milk
- 1 tablespoon olive oil
- 1 teaspoon pure vanilla extract optional
- ½ teaspoon sea salt*
- 4 tablespoons coconut flour one tablespoon at a time (¼ cup)
- 50 grams (¼ cup) dark chocolate, chopped, for dipping
Instructions
- Preheat the oven to 180°C (350°F) and line a baking sheet with parchment paper.
- Add the peanut butter, maple syrup, milk, olive oil, vanilla, and salt to a mixing bowl. Stir for thirty seconds with a wooden spoon, until the mixture is smooth.
- Add the coconut flour a tablespoons at a time, stirring between each addition. After the final addition, stir for a full 30 seconds. A thick and slightly seized dough should form after stirring. (See above for full notes and tips on this).
- Once your cookie dough is ready, roll 12 equal balls of dough and place them onto the prepared baking sheet. Use a fork to press each cookie down, creating a crosshatch pattern. Cookies should be about 2cm (3/4 in.) thick.
- Bake at 180C (350F) for 10-12 minutes, or until lightly golden. Cool on the pan for five minutes before removing and letting them cool completely on a wire rack.
Chocolate dip
- Use a double boiler or a small saucepan on very low heat to gently melt the chocolate.
- Dip the cookies halfway into the chocolate mixture, place them back on the lined cookie sheet, and let the chocolate cool at room temperature until fully set.
- Store the cookies in a sealed container at room temperature up to three days, or freeze up to a month.
Notes
Nutrition
Nutrition is provided as a courtesy and is an estimate. If this information is important to you, please have it verified independently.
This post was originally shared in June 2016. It has been updated most recently as of August 2022 with no changes to the recipe.

Hello!!!
Is extra virgin olive oil okay?
Thank you!
Definitely!
My peanut butter is in a flaky form. How can I make it like regular one?
Thanks and God bless
Hi Joe, I think you’ll need to get regular natural peanut butter for this recipe, I’ve never heard of it in flake form.
I don’t know if the syrup works for me. Next time I might try homey or brown sugar! Otherwise very nice 🙂
These turned out perfectly! Soooo good and so delicious, you almost can’t believe they are so healthy : D Thank you so much for this recipe. The easiest one I’ve found, with clean ingredients and the best results. I keep mine in the fridge, so that they stay hard. But probably not for long, since I eat 6 cookies in one go, because they are really that good. Need to do them right now! But will use honey instead of maple syrup this time, since I ran out. Will let you know how they turn out with honey : )
I’m so happy to hear that, thanks Katja! I often use honey, they should turn out well, if just a little bit sweeter : )
The dough turned out soft and the pressing with the fork didn’t work out – the dough would just stick to it. What am I doing wrong 🙁 ?
Hi there- did you change anything in the recipe? Reducing or omitting the oil, for example, would cause stickiness.